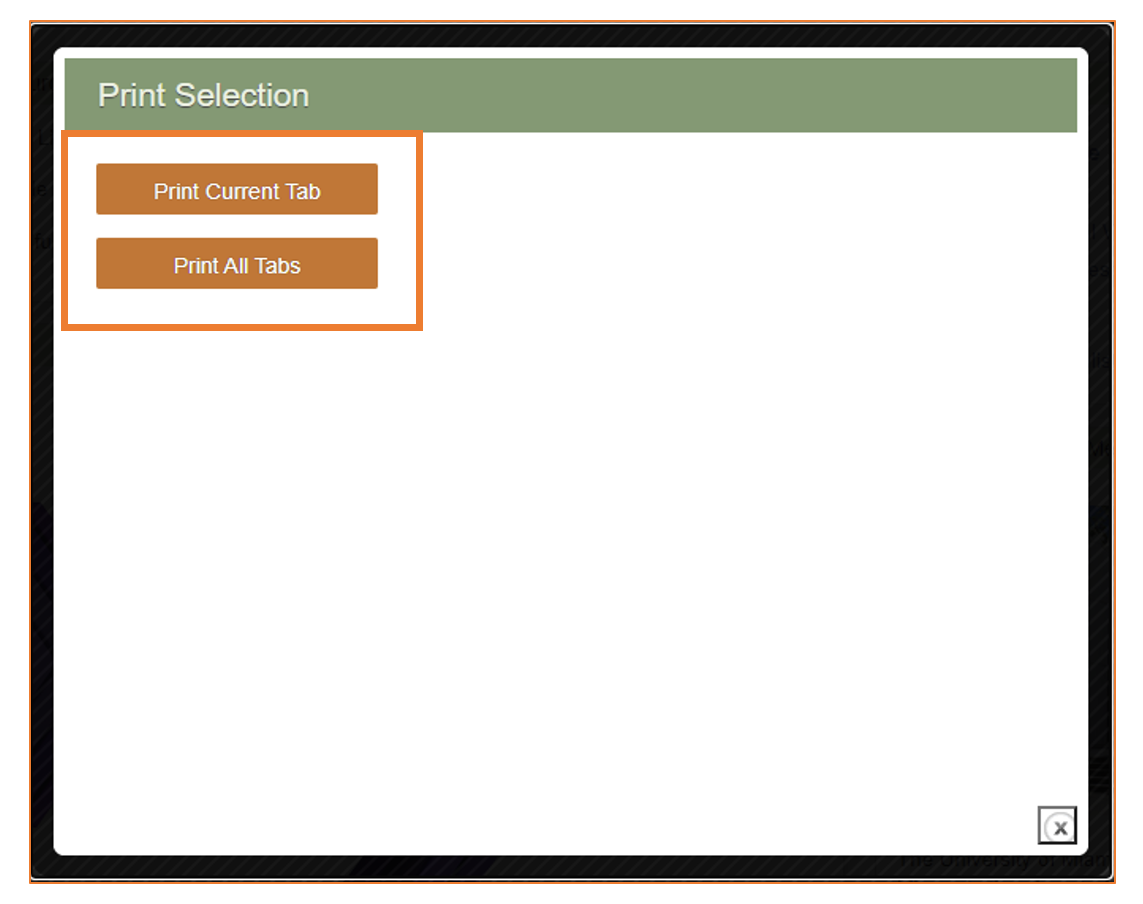
Step 2: A box titled “Print Selection” will pop up with two options:
- If you want a PDF of the current tab, click on "Print Current Tab."
- If you want a PDF of all the tabs in the guide, click on "Print All Tabs."
Once you select an option, the print preview window will open. Here you can choose your print settings on the right side and see the changes accordingly on the left side.

Note: Depending on the picture’s size, some images might be cut off from the page when saving the subject guide as PDF.
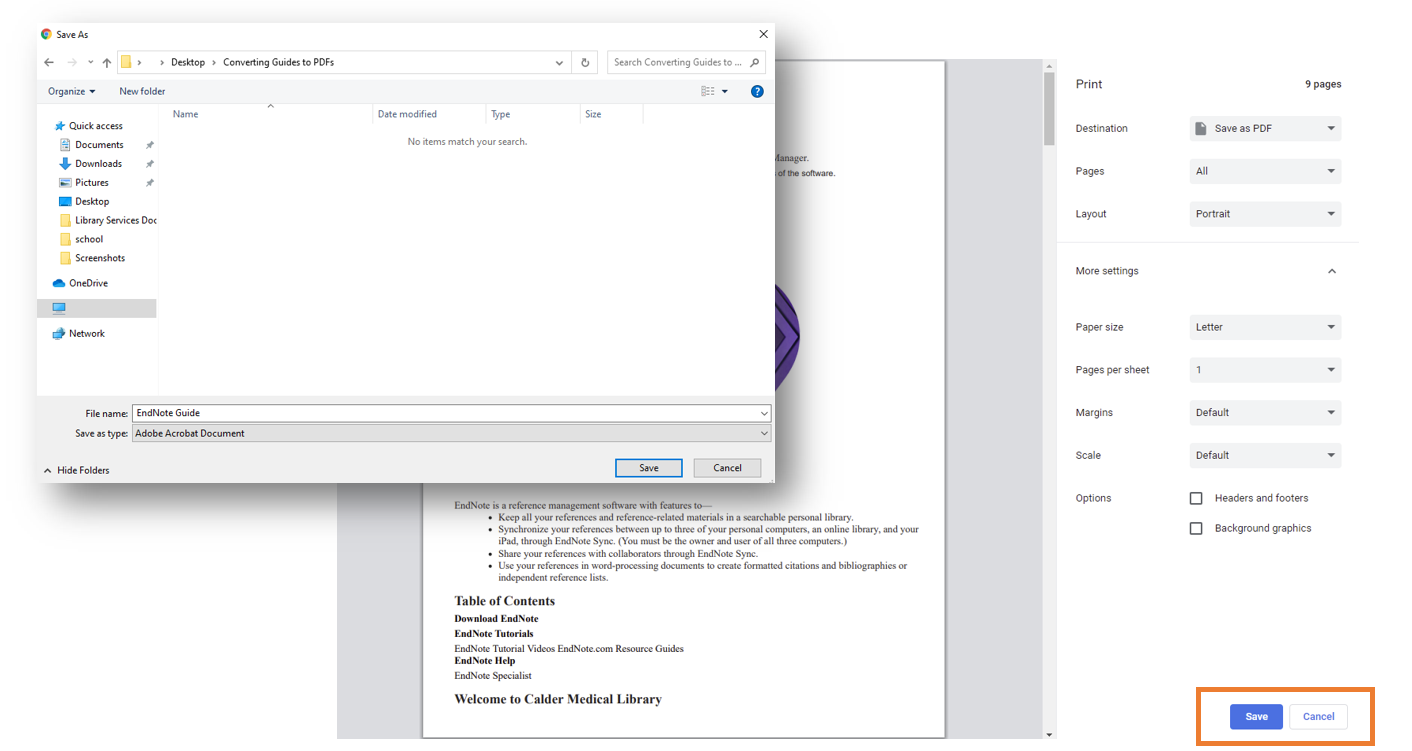
Step 3: To convert the subject guide into a PDF, change the destination to “Save as PDF.”

Step 4: Under “Margins,” click on “Default” to make sure the text fits inside the page. Alternatively, you may customize the margins.
To save specific pages, click on the “Pages” setting. Here, you also have the option to include the page’s headers and footers (which includes the web address and date stamp) or any background graphics. To print the subject guide with these features, check the corresponding boxes.

Step 5: When you are ready to save, click on the “save” button, name the document, and choose where you want to save the file.